


Introduction
The HTML file input element is a commonly used feature in web development, allowing users to select and upload files in a web application. However, the default file input element can often look out of place and not align with the design of your application. In this article, we will explore how to style and customize the file input element in a React application.
First, we will learn how to hide the default file input element and create a custom input field that aligns with the design of your application. We will also explore how to customize the button to match the design of your application, and how to display the selected file's name or size, in a way that fits your application's needs.
In this article, we will demonstrate how to create an elegant and user-friendly file input feature in your React application. The techniques and methods described will help you take full control of the file input element and make it look and feel like a seamless part of your application.
Outline
Undering the importance of custom file input
Creating project structure.
How to style custom file input
Handling selected file.
Conclusion
Why would you need a custom file input?
There are several reasons why someone may need a custom file input in React:
Improved User Experience: A custom file input can provide a better user experience by allowing users to easily select, preview and validate files in a more intuitive and user-friendly way.
Additional Functionality: A custom file input can include additional functionality such as file validation, displaying file previews, and drag-and-drop support.
Branding and Design: A custom file input can be designed to match a website's branding and design guidelines, giving a more seamless experience for the user.
Accessibility: A custom file input can be designed with accessibility in mind, making it easier for users with disabilities to interact with the file input.
File Uploading: A custom file input allows you to control the way you want to handle the file uploading process, for example, you can use it to upload the file to a specific endpoint on your server or to a cloud storage service like AWS, GCP or Firebase.
Flexibility: Using a custom file input will give you more flexibility in terms of styling, behaviour and functionality that you can't achieve using the default file input.
Prerequisites
To follow along with this article on creating a custom file input in React, you should have a basic understanding of the following concepts:
React: The article will be using React hooks and JSX, so a basic understanding of React and its syntax is necessary.
JavaScript: The article will be using JavaScript to handle the file input change event and update the component's state.
HTML and CSS: The article will be using HTML to create the file input element and CSS to style it.
Basic understanding of ES6+ features like arrow function and destructuring assignment.
Familiarity with modern development tools like npm or yarn and the ability to set up a basic React project.
Project Setup
The first step will be to create a new React app using the create-react-app command line tool. This tool is used to quickly set up a new React project with a preconfigured development environment and a basic file structure. Here are the steps to create a new React app: Open a command prompt or terminal window and navigate to the directory where you want to create your new React app. Run the following command to create a new React app ( you need to have a package manage and node js install) :
npx create-react-app my-app
(replace "my-app" with the name of your app)
Wait for the command to finish executing. This may take a few minutes, depending on your internet connection. Once the command has finished executing, navigate into the newly created directory by running:
cd my-app
You can now start the development server by running
npm start

    or

yarn start
This will start the development server and open your app in a browser window at localhost:3000 You should now have a basic React app set up and running. Now we can start building your custom file input in the src folder of our app.
Step 1
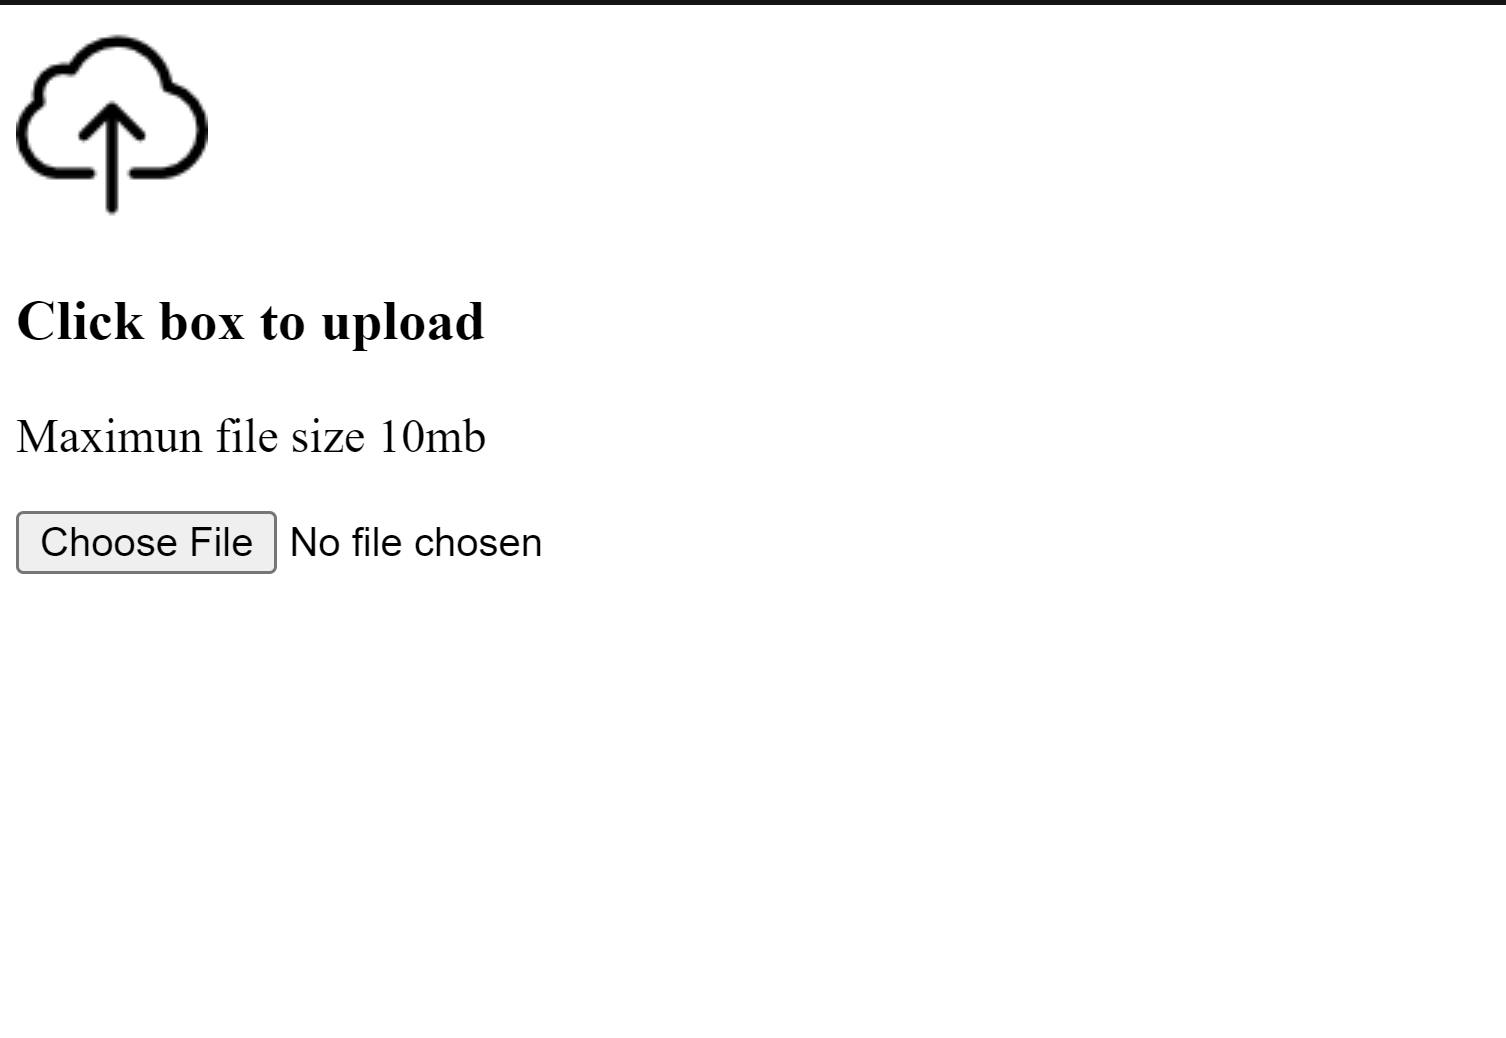
Create an HTML div element that would serve as the file upload container and parent div, inside the newly created div add a heading 3 tag <h3> this should display a placeholder when the component first renders then the name of the uploaded file on input change afterwards create a paragraph tag <p> it content will hold supported file type and lastly create an HTML input element with a type attribute set to "file" and an onChange attribute set to the handleFileChange function ( we will be creating this function soon ). This will allow the user to select a file.
import "./styles.css";
import uploadImg from "./upload.png";
export default function App() {
  return (
    <div className="app">
       <div className="parent">
        <div className="file-upload">
           <img src={uploadImg} alt="upload" />
           <h3>Click box to upload</h3>
            <p>Maximun file size 10mb</p>
            <input type="file" />
          </div>
        </div>
      </div>
  );
}
That's all the basic HTML we need for our custom file uploader, you now let's add some styling.
Step 2
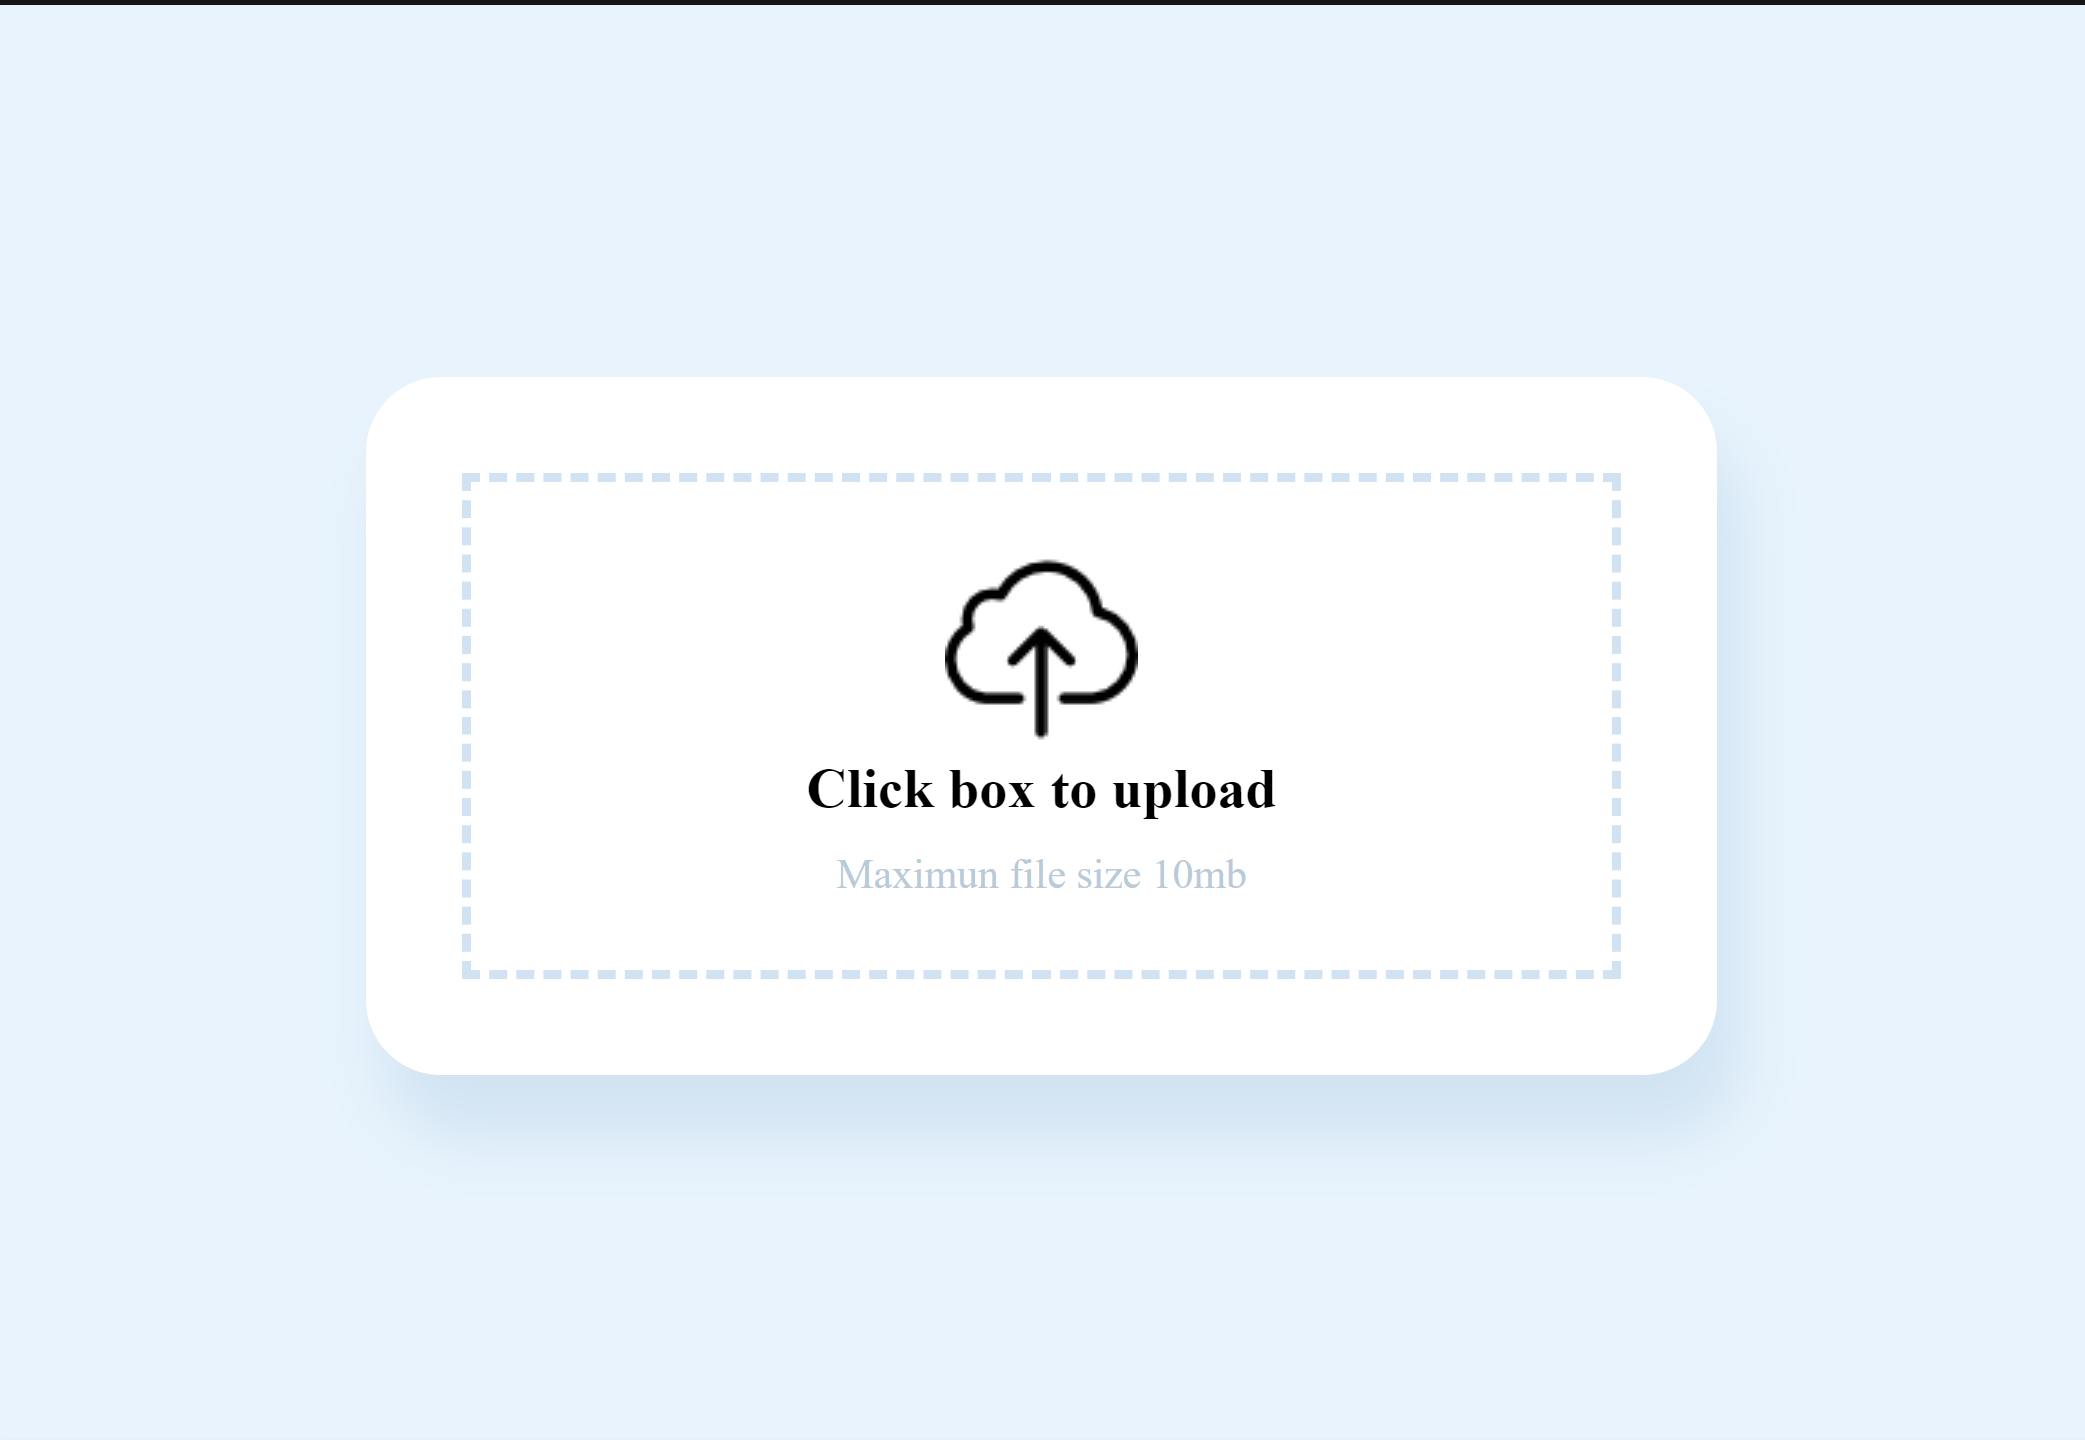
Use CSS to style the custom file input. This can include customizing the appearance of the input element and displaying the file name after a file has been selected.
    * {
      padding: 0;
      margin: 0;
      box-sizing: border-box;
    }
    .app {
      width: 100vw;
      height: 100vh;
      display: flex;
      align-items: center;
      justify-content: center;
      background: #e9f3fe;
    }
    .parent {
      width: 450px;
      margin: auto;
      padding: 2rem;
      background: #ffffff;
      border-radius: 25px;
      box-shadow: 7px 20px 20px rgb(210, 227, 244);
    }
    .file-upload {
      text-align: center;
      border: 3px dashed rgb(210, 227, 244);
      padding: 1.5rem;
      position: relative;
      cursor: pointer;
    }
    .file-upload p {
      font-size: 0.87rem;
      margin-top: 10px;
      color: #bbcada;
    }
    .file-upload input {
      display: block;
      height: 100%;
      width: 100%;
      position: absolute;
      top: 0;
      bottom: 0;
      left: 0;
      right: 0;
      opacity: 0;
      cursor: pointer;
Note that we set the opacity of the input to zero, the idea is to hide the default HTML input field so we can implement a custom input. Still, we also want to keep its uploading functionality, so we gave the input the same height and width as the parent div. Hence, it takes all the available space and then we reduced its opacity so that it is not visible to the user lastly, we’ll display a beautiful UI. Reducing its opacity doesn't take it off the dom, so clicking will let the user choose a file from their device.
Step 3.
Create a state variable to store the selected file and another for the file name This can be done using the useState hook.
const [selectedFile, setSelectedFile] = useState(null);
const [selectedName, setSelectedName] = useState("");
Step 4.
Now Create a function that will handle the file input change. This function will update the selected file state and also update the placeholder text “Click box to upload” with the selected file name. ( may also include any additional logic such as file validation ). To get the name of the selected file, you can use the files property of the event.target object in the handleFileChange function. This property is an array that contains the selected file(s) as File objects. In the case of a single file input, you can access the first (and only) file in the array using event.target.files[0]. Here is an example of how to get the name of the selected file in the handleFileChange function:
 const handleFileChange = (event) => {
   const file = event.target.files[0];
   setSelectedFile(file);
   setSelectedName(file.name);
   // Additional validation logic
 };
Step 5
Finally, we’ll use JavaScript to display the selected file name. This can be done by displaying the file name in the component's JSX using the selected file state. In the code snippet above, the handleFileChange function sets the selectedName state to the name property of the first file in the files array. Then it sets the selectedFile state to the fileName variable. You can then use the selectedFile state for your logic then you can use the selectedName state in your component's JSX to display the name of the selected file:
<div className="file-upload">
   <img src={uploadImg} alt="upload" />
   <h3> {selectedName || "Click box to upload"}</h3>
   <p>Maximun file size 10mb</p>
   <input type="file" onChange={handleFileChange} />
</div>
In this example, the component will render the file name only if a file has been selected else it will render “Click box to upload”. Note: This is just a basic example, you may want to handle multiple files, validation, and other features, you can achieve this by using additional libraries and packages.
Conclusion
In conclusion, styling and customizing the HTML file input element in a React application is a great way to enhance the user experience and align it with the design of your application. By using techniques such as hiding the default file input element and creating a custom input field, customizing the button, displaying the selected file's name or size, you can create an elegant and user-friendly file input feature in your React application.
By following the techniques discussed in this article, you can take full control of the file input element and make it look and feel like a seamless part of your application. Remember that the file input is a fundamental feature of web development, and by customizing it, you can provide a better user experience, and make it easier for users to interact with your application.
It's worth noting that when styling and customizing the file input element, it's important to keep accessibility in mind. Make sure that the file input element is still usable for users with assistive technologies and that the customization does not affect the functionality of the file input element.
Overall, by implementing these techniques, you can create a visually appealing and user-friendly file input element in your React application, that will enhance the overall user experience.
Note: Be aware that this is just a basic implementation, there are some missing features such as handling the drag-and-drop events, and file validation. You can use some libraries like react-dropzone and react-dropzone-uploader to handle file upload and validation, but if you want to have full control over the behaviour and design of the file input you can use the code above as a starting point.